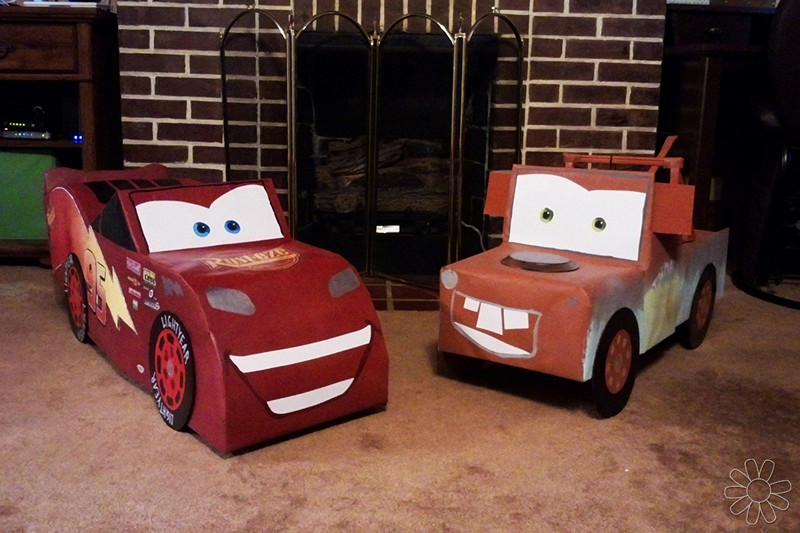
A Lightning McQueen Halloween
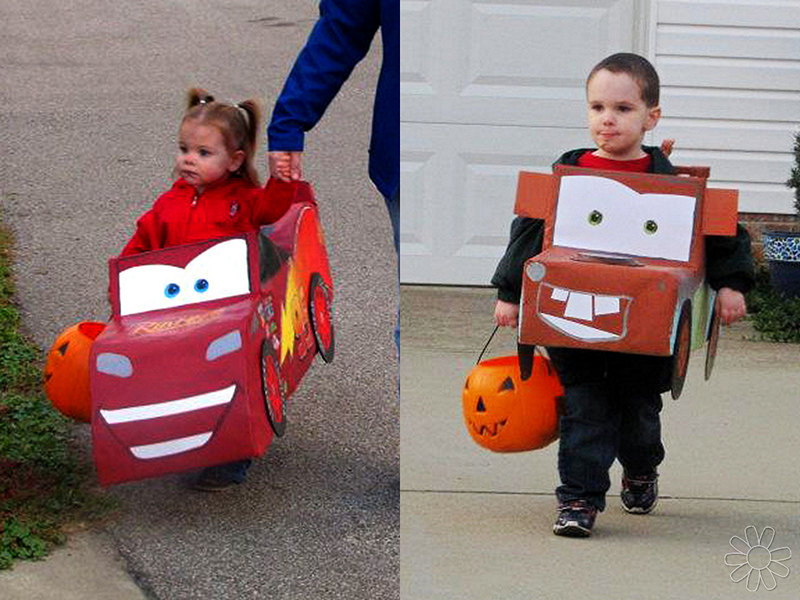
So this is an old project that I posted photos of on Facebook, but never really talked about much. *Disclaimer, these photos were not taken with the purpose of being posted on a blog and show a “lived in” house. For Halloween in 2011, I had originally planned to just let Austin and Allie sit at the house and hand out candy to any random trick or treaters that we might get. At most, we would get 5 kids each year, so that was pretty boring. About 3 days before Halloween, a friend of mine said “Hey, come let the kids trick or treat in my parents neighborhood. They give out good candy and it’s low traffic.” Sounds great, but we had no costumes and no money. What’s a momma to do? Why make costumes, of course! After sitting down and talking to Austin and Allie, both being pretty big fans of the Disney Cars franchise, Austin decided on Lightning McQueen and Allie would be Mater. Right…. Not a problem……
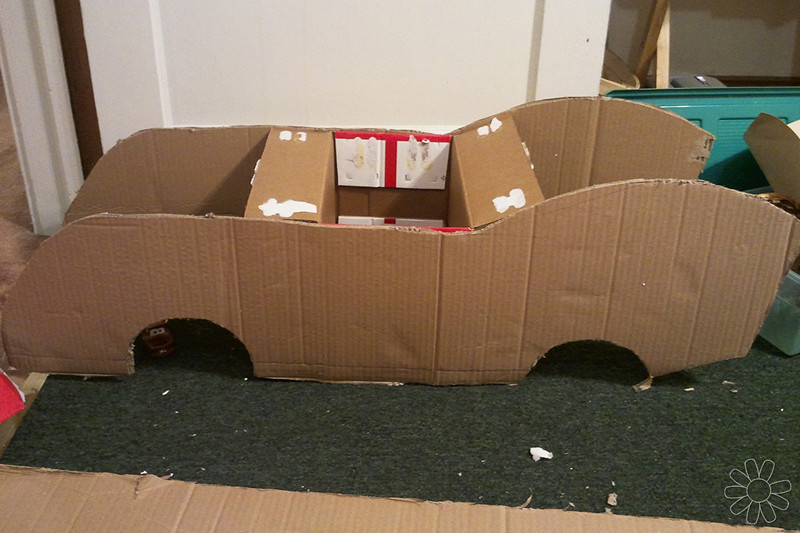
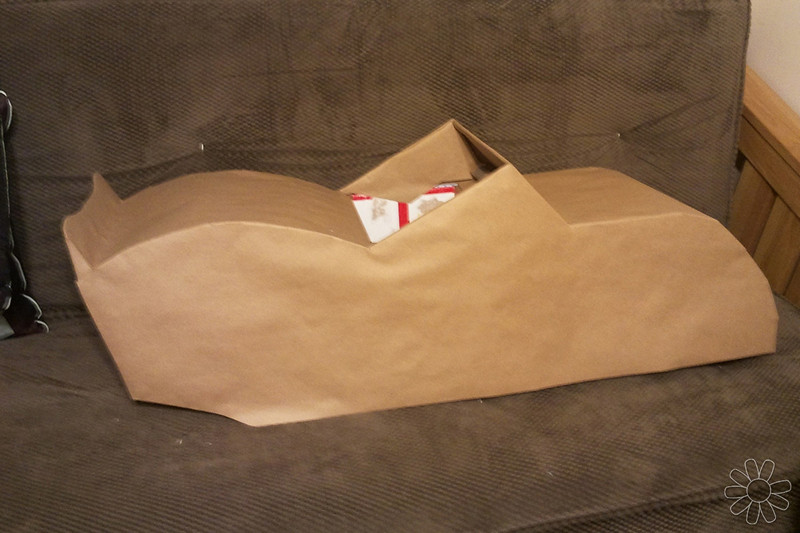
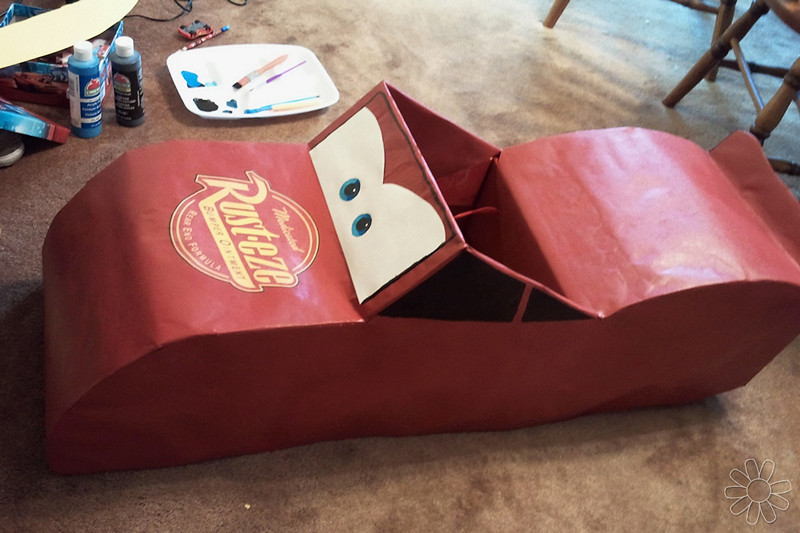
I started by digging through a stash of boxes that we used for various things. One was large enough to cut out the shape of a car, so I brainstormed… If Austin can fit his waist into a smaller box, we can put cardboard car cutouts on either side, then fill in the gaps in between. I had plenty of cardboard, and kraft paper to allow for all of Lightning’s curves.
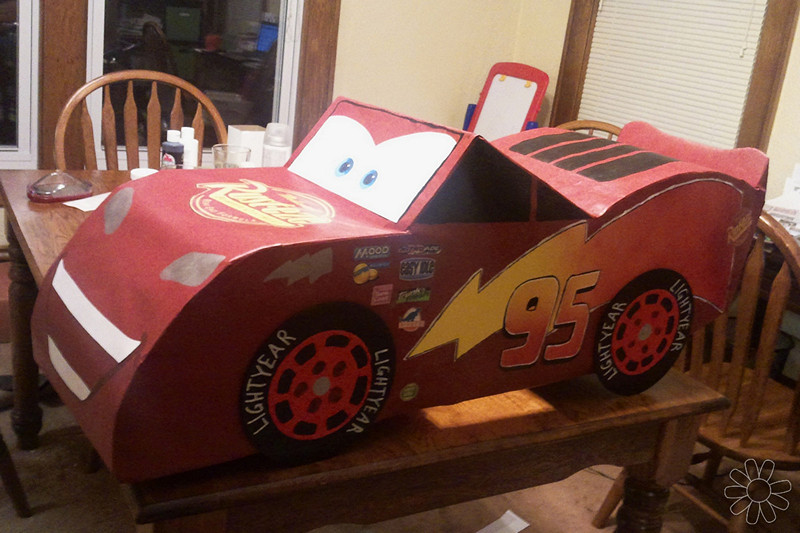
All of the little details were fun to put together. I tried to find as many of the sponsor logos online as possible and just printed them off and modpodged them to the body. For the lightning bolts, I cut them out of poster board, used spray paint to get the color gradient right, and outlined it with black acrylic paint to set it off from the red background color. Pre-cut cake cardboard made the perfect wheels. Added some shoulder straps to carry this contraption and we were good to go…
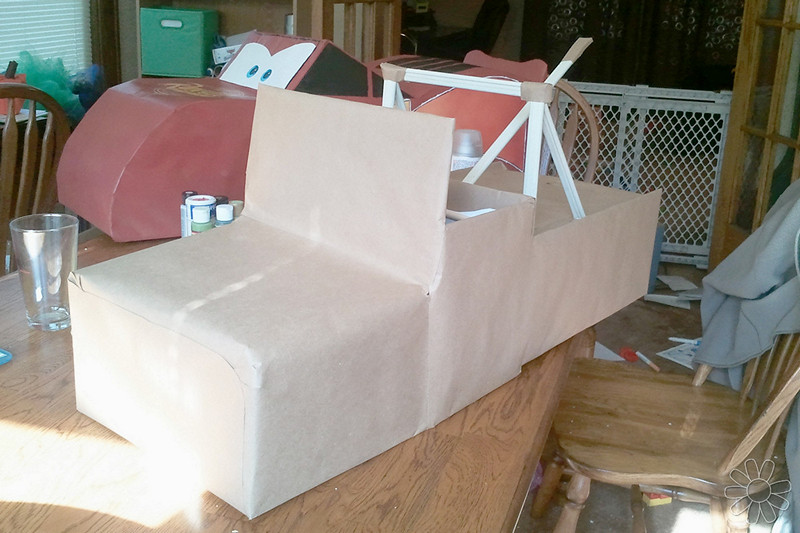
Next up.. MATER!
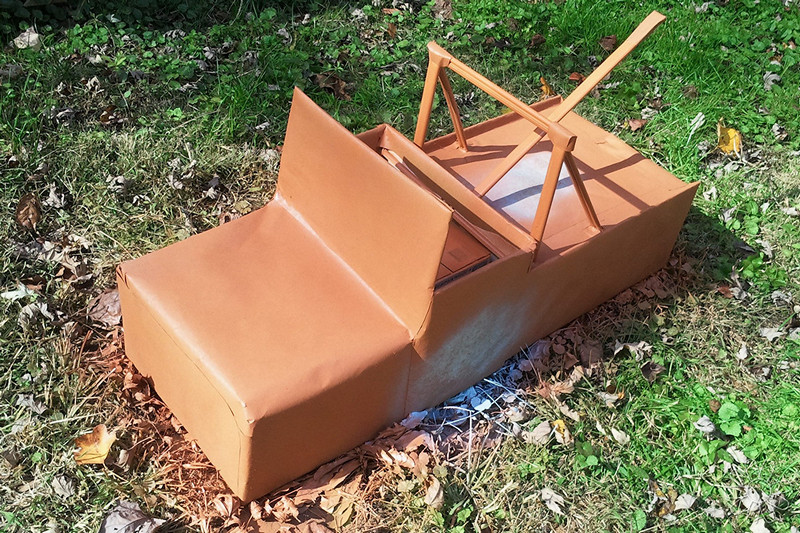
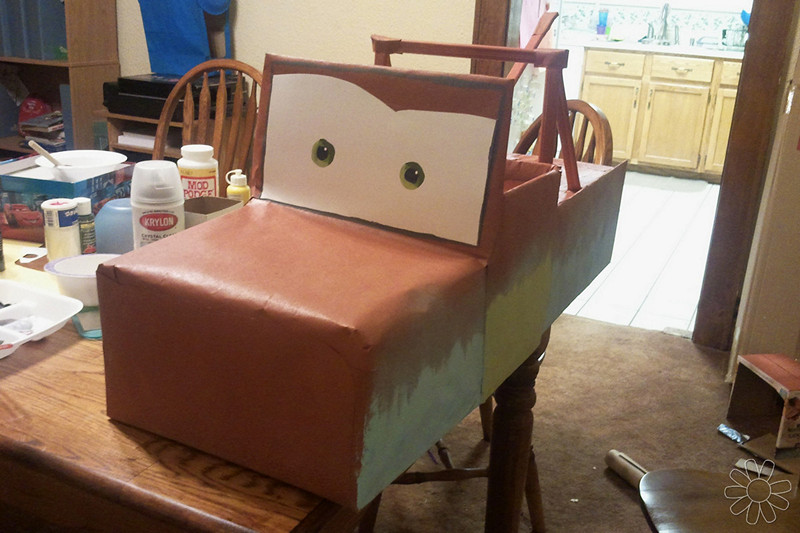
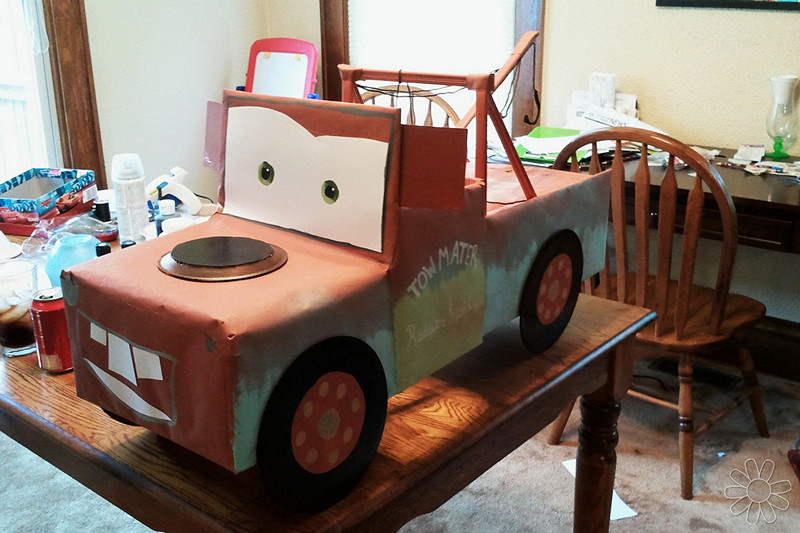
Being an older model tow truck, Mater had fewer curves. So one box for the cab, one for the bed and one for the front. I had an old, cheap curtain rod that I had recently taken off a window, and used it to frame up the towing equipment. Lots of rust color spray paint with small touches of the powder blue that is mostly a memory for Mater. I hand lettered his doors with acrylic paint and cut the whites of his eyes out of posterboard, painted the irises and clued on to his windshield.
Overall this was a super fun project with a quick turn around time. I miss making things like this, and really have to force myself to make time for the fun stuff. I hope you enjoyed and got some inspiration to do you own costume!