Makeup Organization
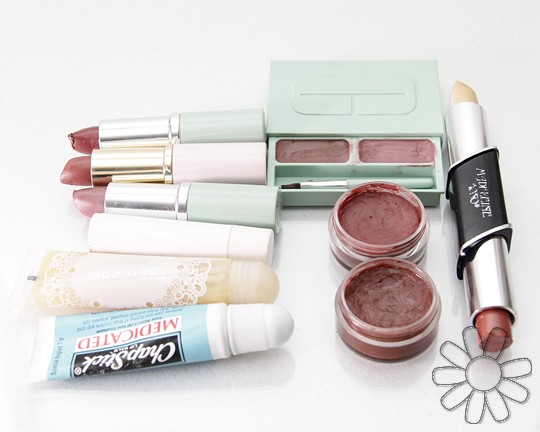
I’ve recently started wearing makeup more often, but I’ve never been much on lipstick. I prefer a tint or gloss. But I have so many kits that have come with lipstick, or even old glosses that take up space. I guess this post didn’t help me downsize my lipstick, however, I will now use it :) This is my current collection, which I did throw several out a few months back, but all of these are in good shape, even though I’ve already been cutting on some.
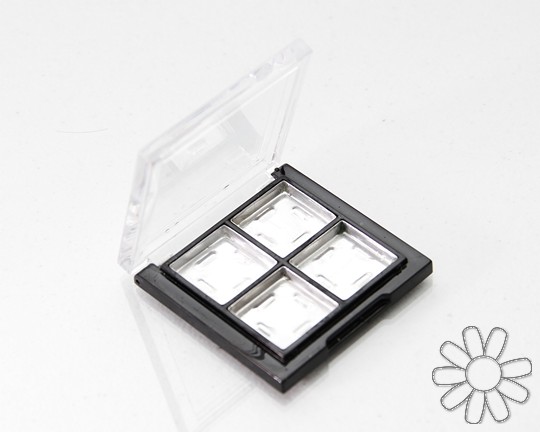
I’ve seen in a few stores a kit for making your own lip color palette, from melting down what you already have. It costs about $18 from Japonesque and comes with a tool, a bowl, and an empty palette. Great idea to have it all together for you, however, I wasn’t about to pay that much. I’ve been down sizing my eyeshadow as well (more to come on that) so I had some empty eyeshadow cases. This case, even if bought new, was only 99 cents at Sally. I got all the eyeshadow out, washed it well, and used nail polish remover to take the ink off the front.
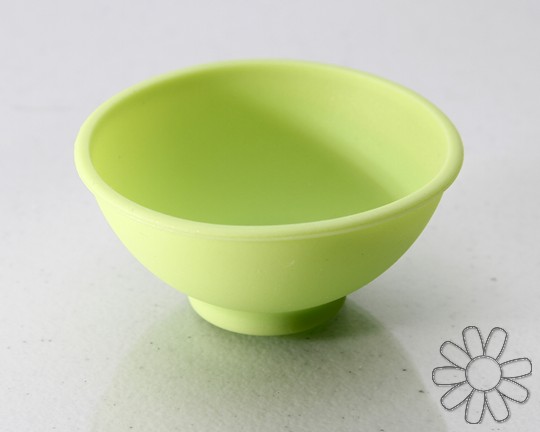
 While looking for something totally different in the kitchen area at the local big box store, I came across a two pack of these silicone pinch bowls for less than $2. Heat safe to 500 degrees. Jackpot! This is something similar on amazon.
 The next steps are pretty easy. I used some spatula type things I bought at Sally as well to scrape lip color into the bowl. I added something without color (chapstick), to make it more like a gloss, and sometimes I added a tiny bit of a gloss that I have that has glitter in it.
Melt in the microwave in 10-15 second intervals, pinch the sides of the bowl and pour into one well of your palette. I had another empty palette on standby to take any extra I had, since there really wasn’t a way to measure. Rinse and repeat for other colors.
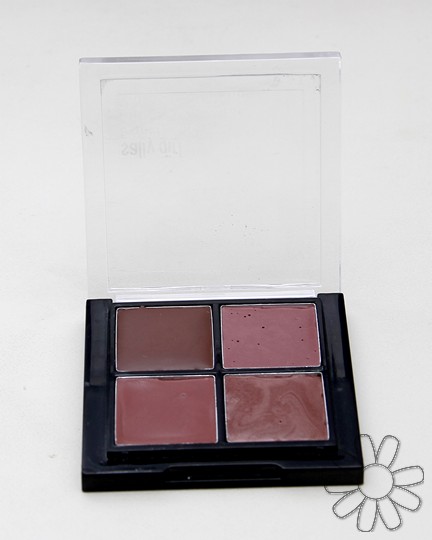
 Now I have a nice little compact with four lip shades that I love, and I’ll eventually use up all my lipsticks. At this point, I’ll probably throw out some of the old ones, and keep my faves to refill this palette. I know this doesn’t seem like much, but I’ve had some of this makeup for YEARS. You’ll see examples of the age of some of this stuff in the next post. Anyone remember the “Art Stuff” line at Bath and Body Works?
*****UPDATE: When I tried to use the one on the bottom right, it was too soft. I scooped it out, back into the melting bowl, added more chapstick, remelted, and repoured. Now that it has set up, it has a much better consistency to it :) *****
Check out these link parties!
This entry is filed under Crafts. You can follow any responses to this entry through RSS 2.0. You can leave a response, or trackback from your own site.


Wow, that is so innovative! The end result looks like something you would buy from a store! :) Great post, thanks for the idea.
I have sooo many lipsticks that never get touched (I’m more of a chapstick girl). I’ll have to give this a shot!
Such a great idea! I am going to share this on my FB page!
Great idea! This will definitely go on my ‘to do’ list of projects~
Wow, what a great idea! Noce of you to share such a great tutorial. I’m lipstick and gloss obsessed so I’d have lots to choose from for this project. I might be giving this a go.
http://www.itsybitsypaperblog.com
what a great idea! love this… i would probably use up what little i had if i could carry them all at once! :)
ps. thanks for stopping by my blog :)
hiya , great idea and tutorial , tfs , i am visiting from someday crafts and am your newest follower maybe you will pop by mine and follow too
http://www.emilysnan.blogspot.com
xmaggiex
Wow! You are so clever. Thanks for linking to We’re Organized Wednesday!